Adjusting Rear Air Brakes
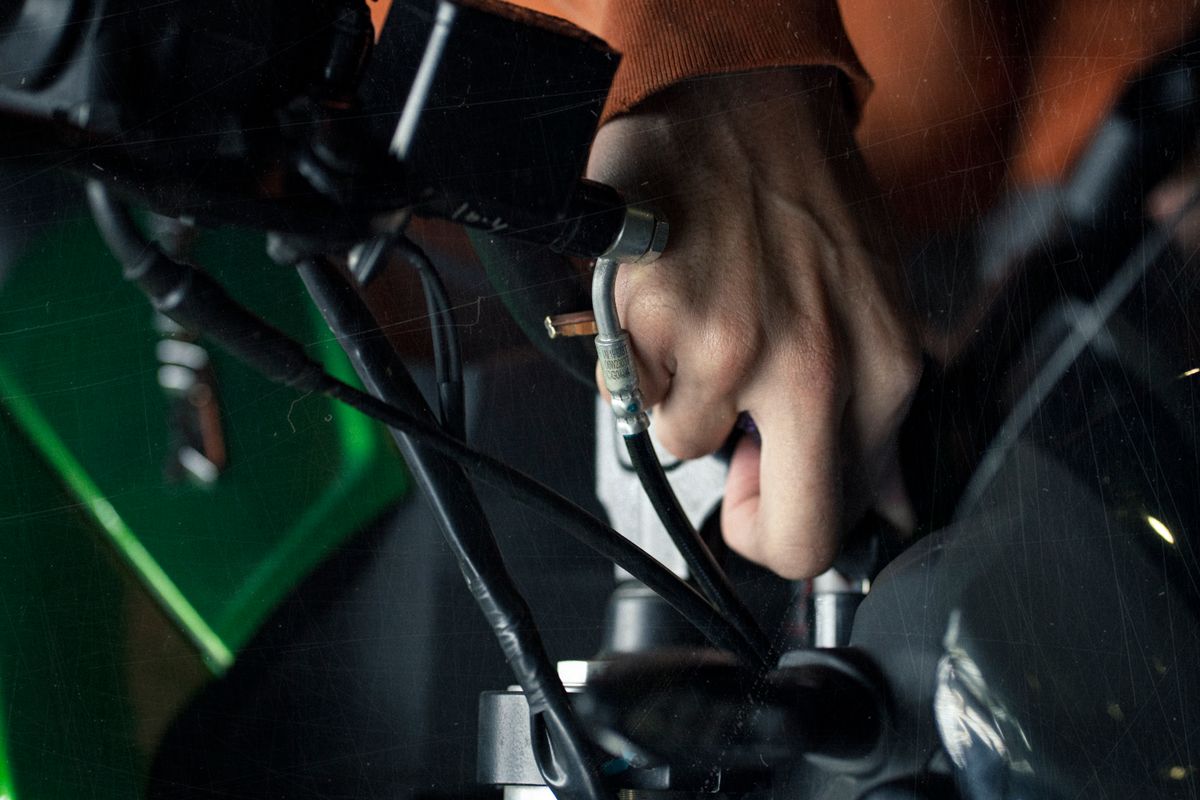
Learn how to adjust rear air brakes on your truck. Step-by-step guide, tools needed, and tips for proper brake adjustment.
Adjusting rear air brakes is a routine maintenance task that every truck driver should know how to do. Proper brake adjustment ensures safe stopping power and prevents premature wear. This guide covers when and how to adjust rear air brakes, the tools you need, and common mistakes to avoid.
Why Rear Air Brakes Need Adjustment
Air brakes use friction to stop the vehicle. Over time, the brake linings wear down, and the slack adjuster compensates by moving the pushrod further. Automatic slack adjusters (ASAs) are standard on modern trucks, but they still need periodic inspection and manual adjustment if they are out of spec. Manual slack adjusters require regular adjustment, typically every 10,000 to 20,000 miles or as part of a preventive maintenance schedule.
According to FMCSA regulations, brakes must be adjusted so that the pushrod stroke does not exceed the limits shown in the table below. If you fail a roadside inspection due to brake adjustment, you can be placed out of service.
| Brake Type | Maximum Pushrod Stroke |
|---|---|
| S-cam brakes | 2 inches (50.8 mm) |
| Wedge brakes | 1.25 inches (31.75 mm) |
Note: These values are from the FMCSA’s out-of-service criteria. Always verify current regulations, as they can change.
Tools You’ll Need
To adjust rear air brakes, you’ll need:
- Wheel chocks
- Safety glasses and gloves
- A brake adjustment tool (or a 9/16” wrench for slack adjusters)
- A pry bar (if needed to release the pawl on automatic slack adjusters)
- A measuring tape or ruler to check pushrod stroke
- A grease gun (for manual slack adjusters)
Step-by-Step Adjustment Procedure
1. Park on Level Ground and Chock Wheels
Park the truck on a flat surface, set the parking brakes, and chock the wheels to prevent movement. Never work under a truck without chocking.
2. Release the Parking Brakes
For manual adjustment, you need to release the parking brakes to access the slack adjuster. For automatic slack adjusters, you may need to release the brake chamber pressure. Consult your vehicle’s manual.
3. Locate the Slack Adjuster
On rear axles, the slack adjuster is on the brake chamber pushrod, connected to the S-cam. You’ll see a hex head bolt (adjusting bolt) on the slack adjuster.
4. Adjust the Brake
- Manual Slack Adjusters: Use a brake adjustment tool or wrench to turn the adjusting bolt. Turn clockwise to tighten (reduce pushrod stroke) and counterclockwise to loosen. Tighten until the brake linings contact the drum, then back off 1/2 to 3/4 turn. This gives proper clearance.
- Automatic Slack Adjusters: If the pushrod stroke is out of spec, you may need to manually adjust it. First, release the pawl (a small lever) that locks the adjuster. Then turn the adjusting bolt clockwise until the linings touch, then back off 1/2 turn. After adjustment, reset the pawl.
5. Check Pushrod Stroke
With the brakes applied (have someone press the brake pedal or use the parking brake), measure the pushrod stroke. It should be within the limits in the table above. If it’s still too long, repeat the adjustment.
6. Grease the Slack Adjuster
After adjustment, grease the slack adjuster fitting (if equipped) to keep it moving freely.
7. Test the Brakes
Before hitting the road, test the brakes at low speed to ensure they engage properly and the truck stops evenly.
When to Adjust Rear Air Brakes
- Manual slack adjusters: Adjust every 10,000 to 20,000 miles or at every oil change, whichever comes first.
- Automatic slack adjusters: Inspect every 6 months or 50,000 miles. Adjust only if the pushrod stroke is out of spec. If you find yourself adjusting an ASA frequently, it may be faulty and need replacement.
- After brake lining replacement: Always adjust brakes after installing new linings.
- If you notice: Longer stopping distances, pulling to one side, or a low brake warning light.
Common Mistakes to Avoid
- Over-tightening: If you tighten the brakes too much, they can drag, overheat, and cause a fire. Always back off 1/2 to 3/4 turn after contact.
- Ignoring automatic slack adjusters: They are not maintenance-free. They need periodic inspection and lubrication.
- Using the wrong tools: A proper brake adjustment tool prevents rounding the bolt.
- Not checking pushrod stroke: Always measure to verify correct adjustment.
FAQ
How often should I adjust my rear air brakes?
Manual slack adjusters: every 10,000 to 20,000 miles. Automatic slack adjusters: inspect every 6 months or 50,000 miles, adjust only if out of spec.
What is the maximum pushrod stroke allowed?
For S-cam brakes, it’s 2 inches (50.8 mm). For wedge brakes, it’s 1.25 inches (31.75 mm). Check current FMCSA rules.
Can I adjust air brakes myself?
Yes, with the right tools and safety precautions. Many drivers do it as part of routine maintenance. If you’re unsure, have a qualified mechanic do it.
What happens if I don’t adjust my brakes?
Brakes can fail, leading to accidents. You also risk being put out of service during a DOT inspection, which can cost you time and money.
The Bottom Line
Adjusting rear air brakes is a straightforward task that every driver should master. It’s a key part of preventive maintenance that keeps you safe and compliant. Check your pushrod stroke regularly, adjust when needed, and always follow the manufacturer’s guidelines. If you’re ever in doubt, consult a professional. Your life and others on the road depend on it.